Getting Started
This guide will walk you through how to deploy an example MCP server ↗ to your Cloudflare account. You will then customize this example to suit your needs.
The link below will guide you through everything you need to do to deploy this example MCP server ↗ to your Cloudflare account:
At the end of this process, you will have a new git repository on your GitHub or GitLab account for your MCP server, configured to automatically deploy Cloudflare each time you push a change or merge a pull request to the main branch of the repository. You can then clone this repository, develop locally, and start writing code and building.
Alternatively, you can use the command line as shown below to create a new MCP Server on your local machine.
npm create cloudflare@latest -- my-mcp-server --template=geelen/mcp-remote-examples/02-user-passwordpnpm create cloudflare@latest my-mcp-server --template=geelen/mcp-remote-examples/02-user-passwordyarn create cloudflare my-mcp-server --template=geelen/mcp-remote-examples/02-user-passwordNow, you have the MCP server setup, with dependencies installed. Move into that project folder:
cd my-mcp-serverIn the directory of your new project, run the following command to start the development server:
npm startYour MCP server is now running on http://localhost:8787/sse.
In a new terminal, run the MCP inspector ↗. The MCP inspector is an interactive MCP client that allows you to connect to your MCP server and invoke tools from a web browser.
npx @modelcontextprotocol/inspector@latestOpen the MCP inspector in your web browser:
open http://localhost:5173In the inspector, enter the URL of your MCP server, http://localhost:8787/sse, and click Connect:

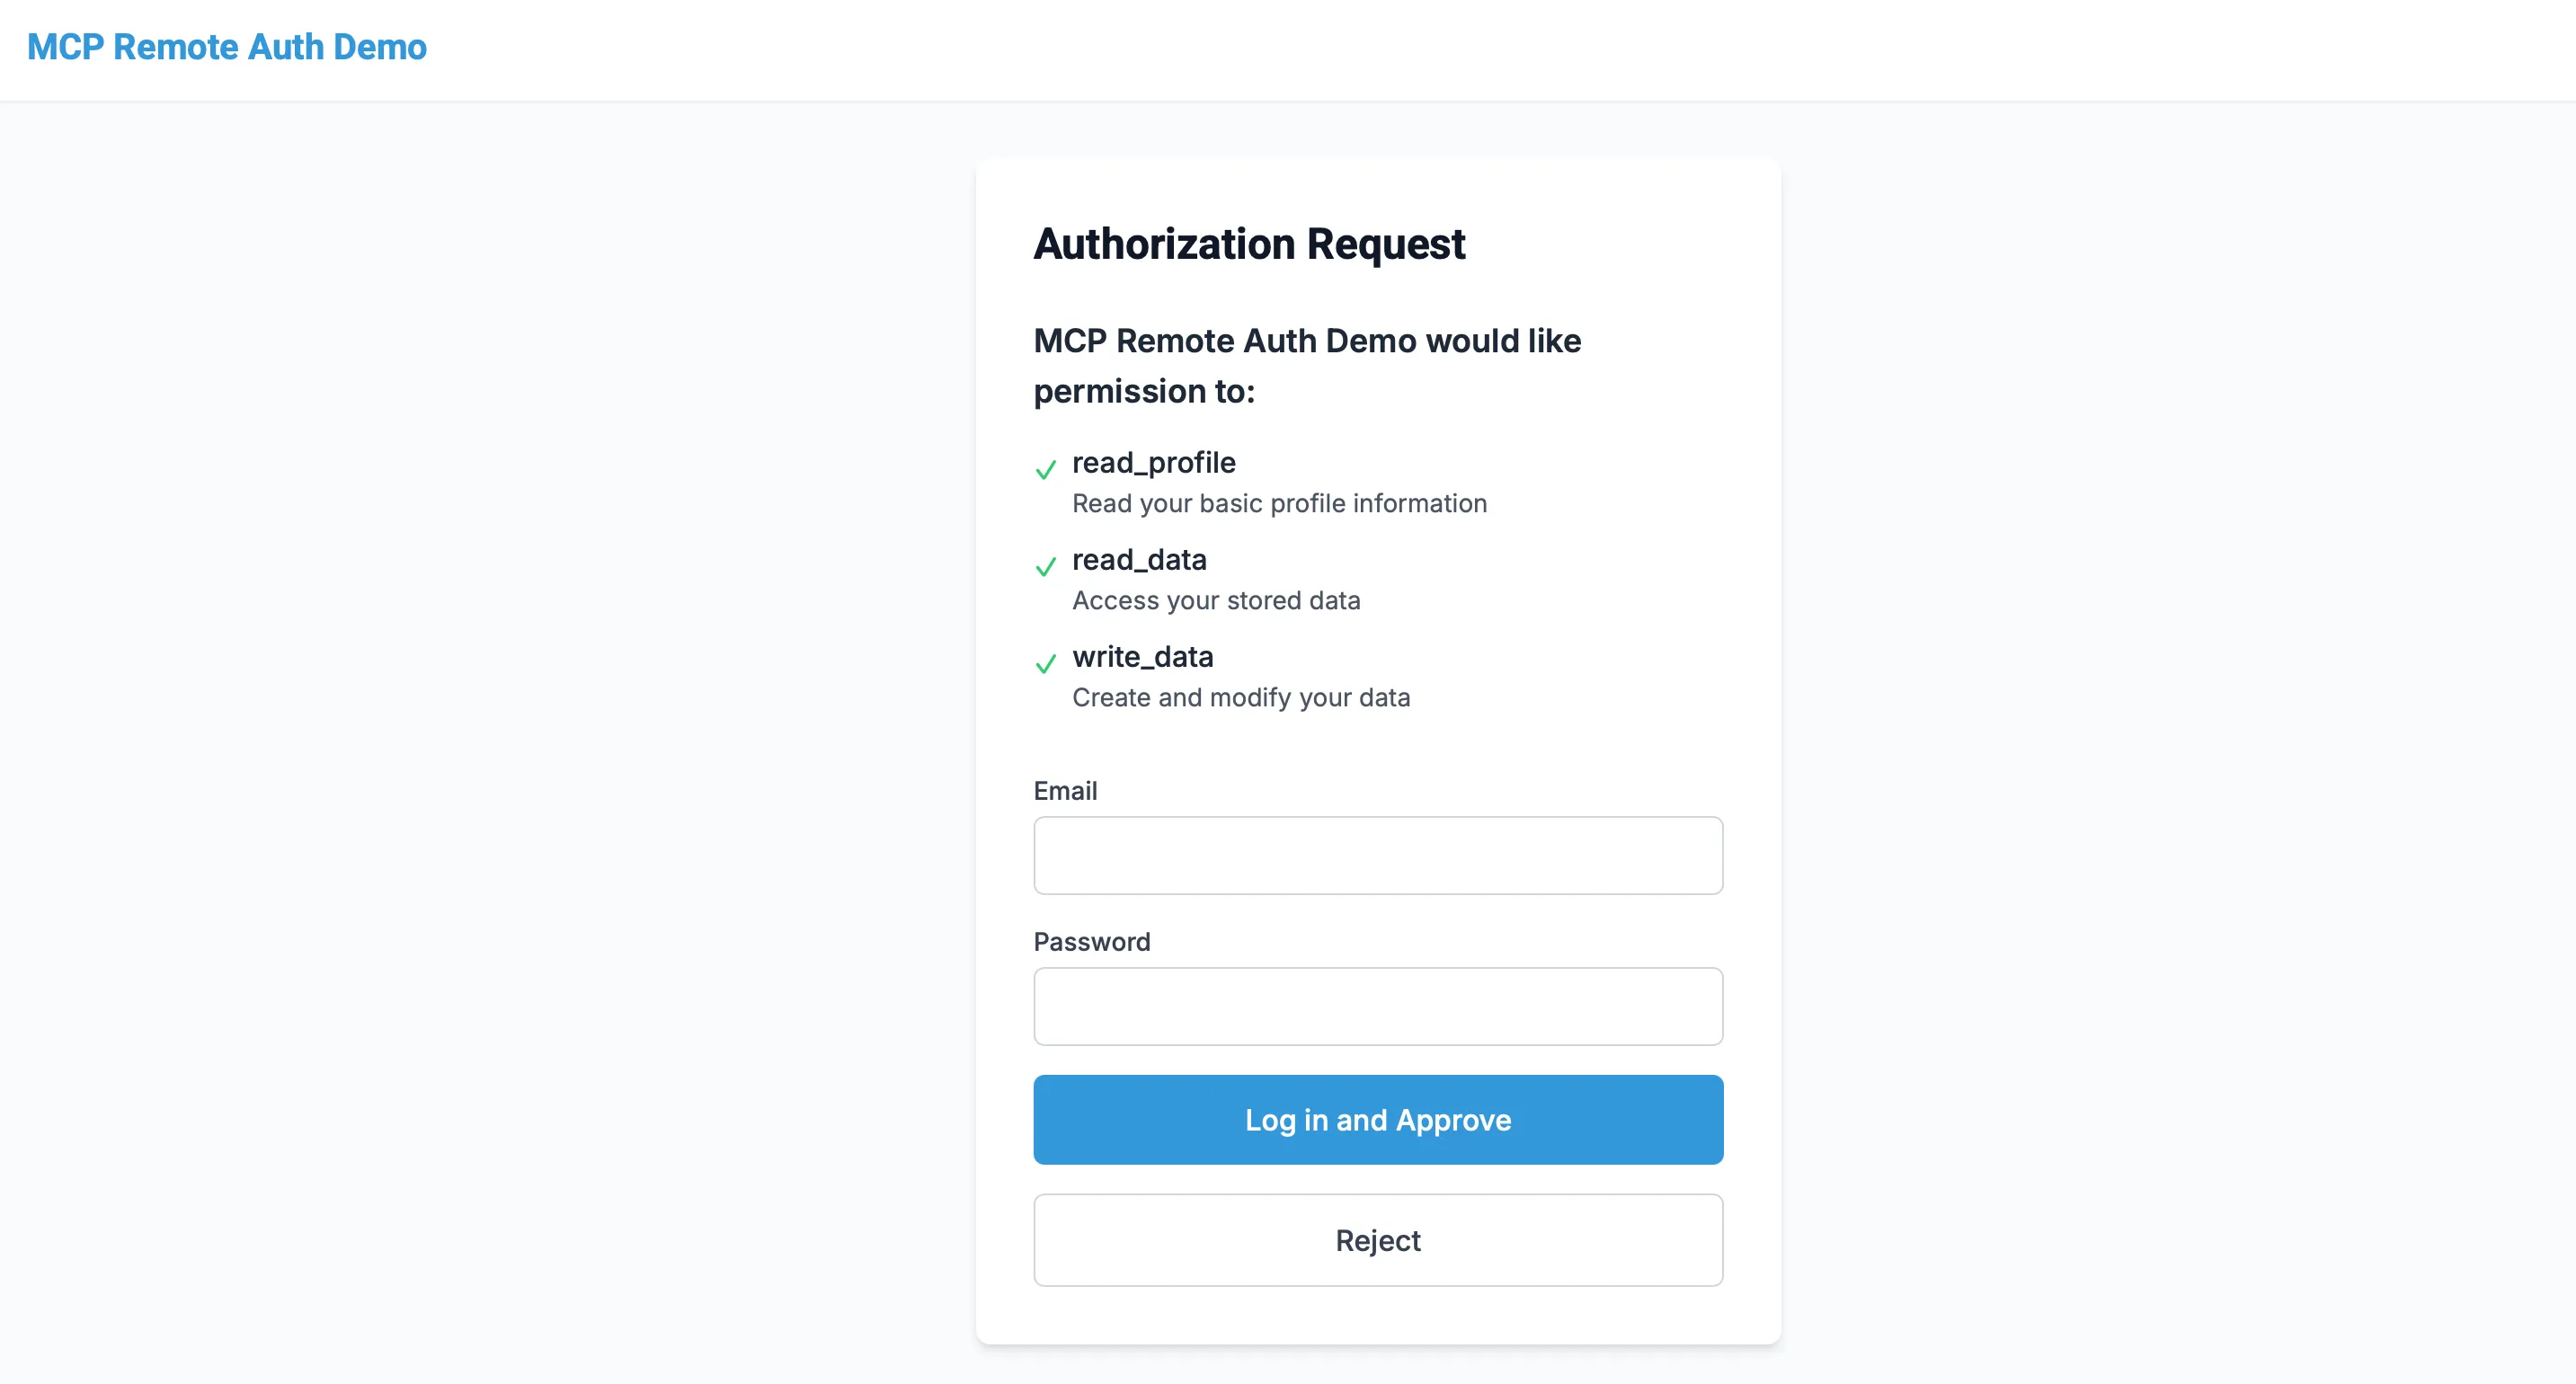
You will be redirected to an example OAuth login page. Enter any username and password and click "Log in and approve" to continue. (you can add your own authentication and/or authorization provider to replace this. Refer to the authorization section for details on how to do this.)
Once you have logged in, you will be redirected back to the inspector. You should see the "List Tools" button, which will list the tools that your MCP server exposes.

You can deploy your MCP server to Cloudflare using the following Wrangler CLI command within the example project:
npx wrangler@latest deployIf you have already connected a git repository to the Worker with your MCP server, you can deploy your MCP server by pushing a change or merging a pull request to the main branch of the repository.
After deploying, take the URL of your deployed MCP server, and enter it in the MCP inspector running on http://localhost:5173. You now have a remote MCP server, deployed to Cloudflare, that MCP clients can connect to.
The example MCP server you just deployed above acts as an OAuth provider to MCP clients, handling authorization, but has a placeholder authentication flow. It lets you enter any username and password to log in, and doesn't actually authenticate you against any user database.
In the next section, you will add a real authentication provider to your MCP server. Even if you already have an authentication provider in place, following these steps will show you more clearly how to integrate it with your MCP server.
We'll use GitHub as the authentication provider here, but you can use any OAuth provider that supports the OAuth 2.0 specification, and we have examples for:
In your example MCP server, open src/index.ts, and change the value of defaultHandler in to instead use the GitHubHandler:
export default new OAuthProvider({ apiRoute: "/sse", apiHandler: MyMCP.Router, defaultHandler: OAuthProvider.GitHubHandler, authorizeEndpoint: "/authorize", tokenEndpoint: "/token", clientRegistrationEndpoint: "/register",});This will ensure that your users are redirected to GitHub to authenticate. If you're curious to understand what the GitHubHandler does you can read the code here ↗.
- Add tools to your MCP server.
- Customize your MCP Server's authentication and authorization.
- Try other example MCP servers
Was this helpful?
- Resources
- API
- New to Cloudflare?
- Products
- Sponsorships
- Open Source
- Support
- Help Center
- System Status
- Compliance
- GDPR
- Company
- cloudflare.com
- Our team
- Careers
- 2025 Cloudflare, Inc.
- Privacy Policy
- Terms of Use
- Report Security Issues
- Trademark